
People are taught (or teach themselves) how to change a tire or check their oil, but not as many people know how to clean corroded battery cables. Getting under the hood can be intimidating and, if you’re busy, too time-consuming to do on your own. But if you have a DIY spirit, Colony One Auto Repair wants you to have the right knowledge and tools at hand.
What follows is a quick tutorial on how to clean corroded battery cables. If you like this tutorial, continue your journey into car maintenance education by checking out these additional posts:
- How much does a car inspection cost?
- How to tell why your car air conditioner is making a noise.
- Why is white smoke coming from the exhaust pipe?
- Why is my car heater blowing cold air when idle?
- How long does an oil change last?
What can I use to clean battery terminals? Here are the most useful materials.
When learning how to clean corroded battery cables, most people are surprised to discover that they have most (if not all) of the necessary materials within their own home. These are the materials we recommend:
- A toothbrush: Needless to say, you won’t be using this toothbrush to clean your pearly whites again. If you don’t have an old toothbrush lying around, it’s easy to snag a toothbrush made from recycled materials at your local convenience store.
- Baking soda: The ultimate cleaning tool! While you’ll find plenty of resources recommending the additional use of vinegar, soda (sticky!), and even WD40, we’ve found that warm water and baking soda is generally all you need for preventative maintenance on corroded battery cables.
- Gloves and goggles: Latex or dish gloves are preferable. These will protect you from the corroded material you clean off of your terminals, which contains sulfuric acid.
- Petroleum jelly: This material is used for lubricating your terminals after you’ve cleaned them, strengthening your terminals’ connections, and preventing future corrosion.
- Rags: To help clear away grime.
- Warm water: You will need warm water to make the solution that cleans the terminals.
- Wrenches: For removing the battery during cleaning. See below for specifics regarding sizing.
Let’s get cleaning!
Step 1: Turn off your car, put on your goggles, and your gloves
First thing’s first … these steps might seem too basic to include, but you’d be amazed how many people forget!
Step 2: Make your cleaning solution
Mix a tablespoon of your baking soda with one cup of warm water. Extra points if you have mad scientist hair while doing so.
Step 3: Remove your battery cables
If your terminals are on the side, you’ll likely need a 5/16-inch wrench; if your cables are on the top, you’ll likely need a ⅜ or metric-sized wrench. Remove the NEGATIVE terminal of the battery first WITHOUT letting the wrench touch the positive terminal. If for any reason you can’t remove the cables, stop at this step and visit a mechanic. Don’t try to pry your battery loose.
Step 4: Inspect your battery and cables
Before you begin cleaning, make sure you take the time to check your battery’s case. Has it become swollen in certain areas? Is it leaking? Are the cables heavily corroded and/or broken? If you notice any of these problems, you won’t need to clean your terminals. Instead, you’ll need to replace your battery.
Step 5: Scrub
If your battery and cables look healthy, it’s time to clean. You definitely want scrubs. Use your toothbrush to scrub your cleaning solution over the terminals and avoid getting the liquid under your battery caps. Note that the solution will bubble. If your terminals are particularly corroded, you may need a stiff wire brush to get your terminals really clean. Wipe away the grime with your rag.
Step 6: Rinse, dry, and add petroleum jelly to your terminals
Rinse off the terminals with clean water or wipe them clean with a damp rag. Dry everything with another clean, dry rag. When everything has dried, add a little bit of petroleum jelly to your terminals. This will help stave off future corrosion.
Step 7. Reattach your battery cables
You’ll need to reattach your battery cables in the OPPOSITE order of the way you put them on: positive first, then negative.
And there you have it! Now you know how to clean corroded battery cables!
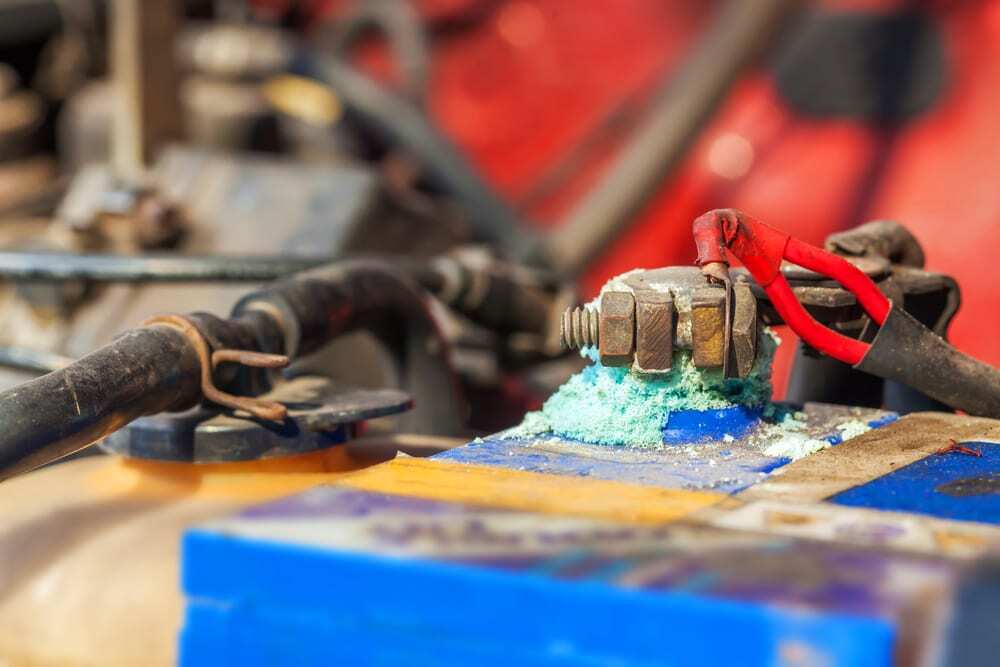
But wait… what causes battery cables to corrode?
As mentioned above, batteries are filled with sulfuric acid. When your motor heats up and cools down, it causes your battery (and the sulfuric acid inside it) to do the same, resulting in the creation and release of hydrogen gas. These gasses react to particles around your battery terminals and create the corrosion you see. You’re more likely to see extreme corrosion in the summertime when it’s hotter outside.
Can battery corrosion keep a car from starting?
Yes, the buildup of battery corrosion can keep your car from starting by making it difficult for your battery to receive or deliver a charge. A corroded battery can also result in a failed A/C system, radio, and eventually, your car’s entire computer system.
What if I don’t have the time to learn how to clean corroded battery cables?
We get it. Not everybody wants (or has the time) to clean corroded battery cables, and that’s OK. With over 275,000 cars serviced since 1991, the experts at Colony One Auto know how to take good care of your battery terminals.
Put your car’s maintenance in the hands of some of the best mechanics in Sugar Land, Stafford, and the greater Houston area. Call Colony One Auto at 281-800-9209 or contact us online today.
Related Resources: